This week I was able to get my hands on a new lens. The 85mm 1.4f nikkor made for some great bokeh and very sharp images. The bokeh created great backdrops to complement the model. I spent a few hours with the model, shooting outdoors and indoors, attempting to use the different light to my advantage.
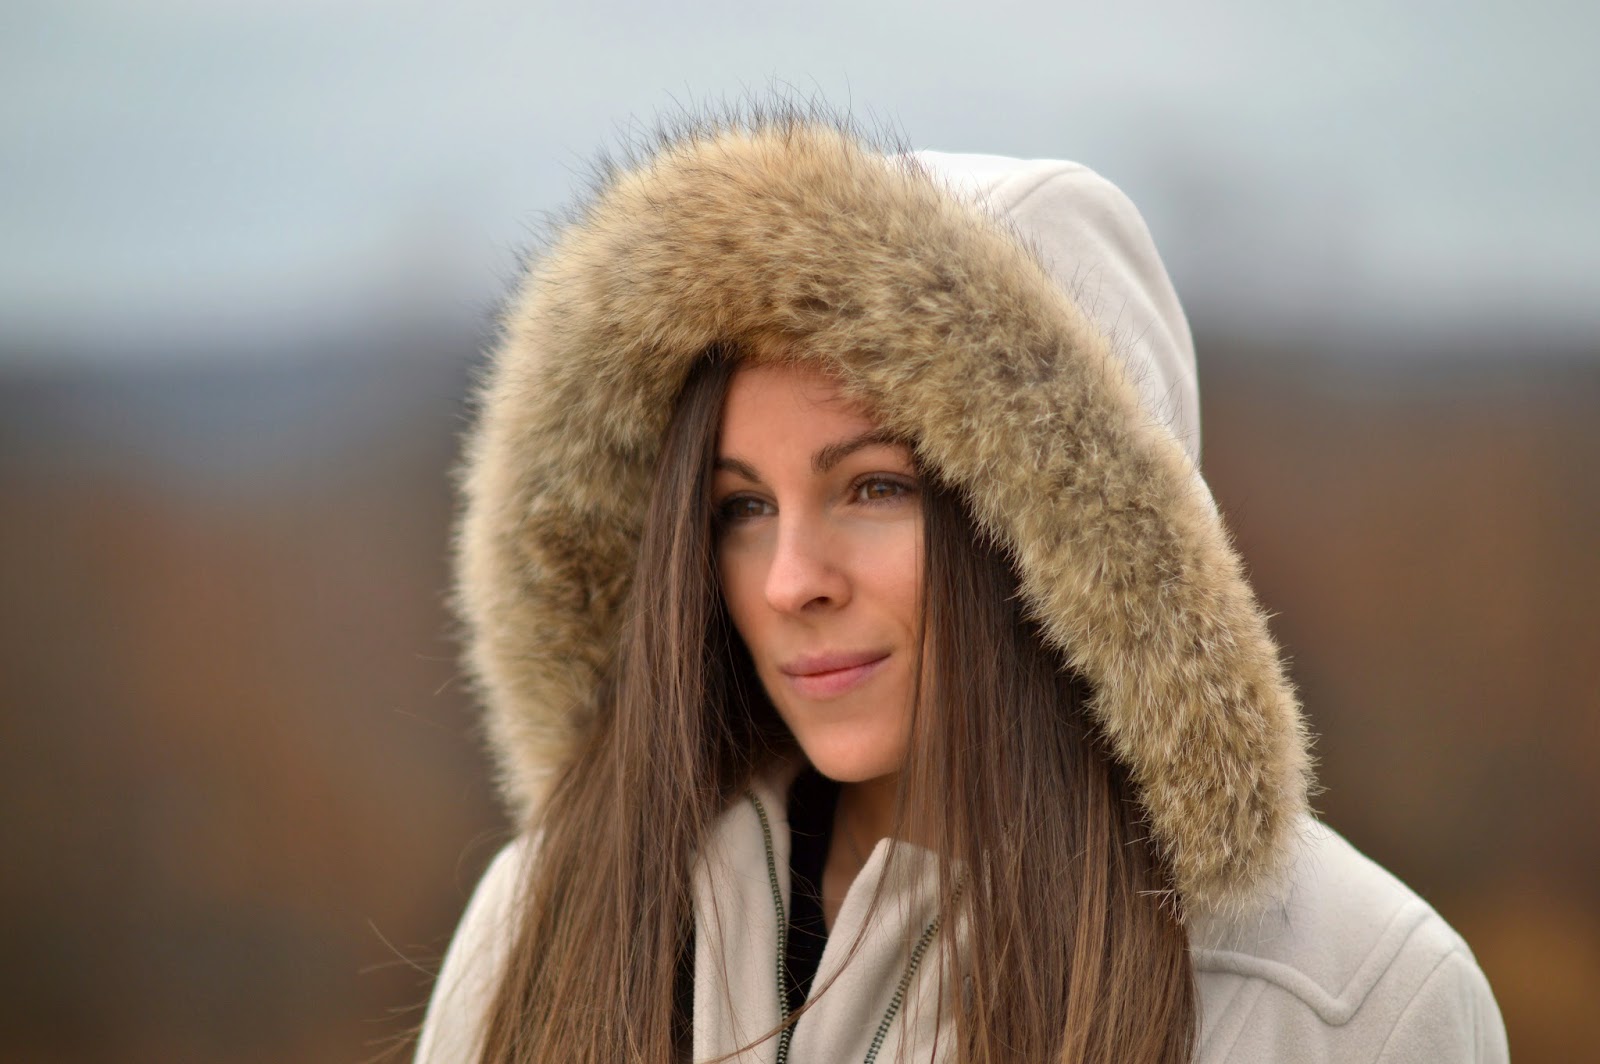
The first shot was taken outdoors. I like how the background is out of focus creating a warm filter effect. For this shot I darkened the background slightly to keep the attention on the model. I played with the highlights and shadows to bring some color to her hair to match the scenery and fur on the hood. I increased the saturation slightly to give the skin a nice tone and followed with a surface blur to smooth. I used the dodge and burn techniques to create some contrast in parts of the face, such as the eyes, lips, and hair. I also played with some make-up techniques that I learned from a photoshop tutorial.

This next shot was also taken outdoors. Playing with the new lens, I was inspired to create backdrops out of ordinary objects. The model is standing roughly 15 feet in front of a large tractor. The yellow paint created a nice contrast to the white jacket and brown hair. I played with the highlight and shadow levels to bring the light into the models face and match tones in the shot. I again used the dodge and burn tools to draw the eye to certain aspects of the models face. I noticed that darkening the eyebrows and lightening the eyes created a nice effect.


It was a beautiful day today and I had the opportunity to go shooting again. Figured I would add some more to my post. I am still learning about the depth of field and trying to get comfortable to a fixed lens(no zoom). For these shots I played with the highlight/shadow levels to get the light on the model just right. I also dimmed the background a bit, as the reflection from the water was distracting.


Amazing, Maks... Congrats on your new lens. See my post above...You have the exposure on the white lab coat under great control... that can be tricky and lead to blown out areas if you aren't careful. I am very impressed with your close observations of the masters and how you are working hard to learn their secrets.
ReplyDelete